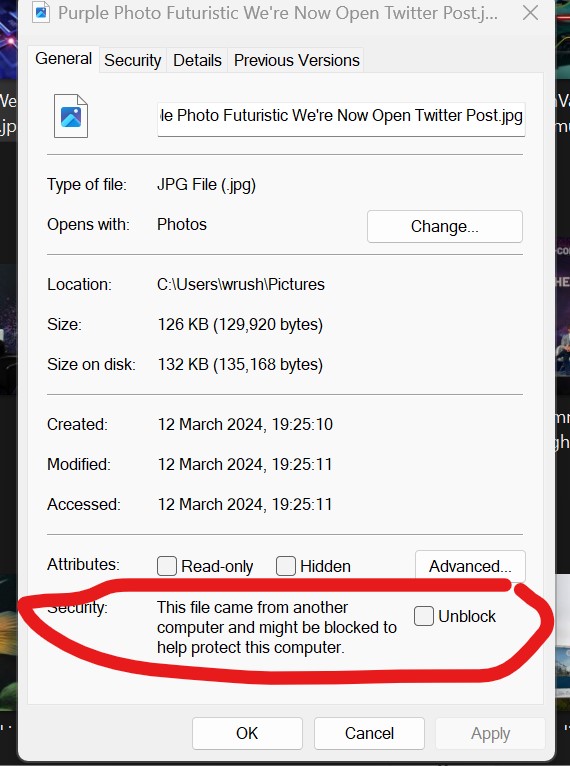
I have been getting an issue with Windows 11 applying blocks to images I’m importing from my camera that need to be unblocked. I have noticed that images I create from an app also get this.

I first noticed this last year that images downloaded from the internet would have this block enabled for security. I thought this was fair due to the source of the files. I also wondered if it was because I had moved the folder away to a customer location or drive. This became an issue when I used a blocked image in an article but sharing on Facebook did not show the image. I used the same image after unblocking and that worked.
As a journalist, this setting can ruin its functionality when I upload it to my news site made from WordPress.
It also happens that photos imported from my camera now have this as well, there is no mass unblock, so to unblock each photo one by one is very time-consuming. Plus I use Canva, and images created from that also need unblocking.!!!
I reinstalled Windows Clean last week because I wanted a clean start and have changed the main user. I have more than one user login but only use the one. The setting must be default in Windows, so now I have started technical support with the Windows team and have moved to level 2 support. case number: 7036993401
Attempts for answers.
I posted a copy onto Overclockers Forum, and they replied with this article link on TenForums.
That blog pointed me to GPedit and the Attachment Manager, but Windows 11 Home does not have this. I did however do this on the DELL which is 11 Pro, I changed the Attachments setting, rebooted, but no change.
Computer Devices
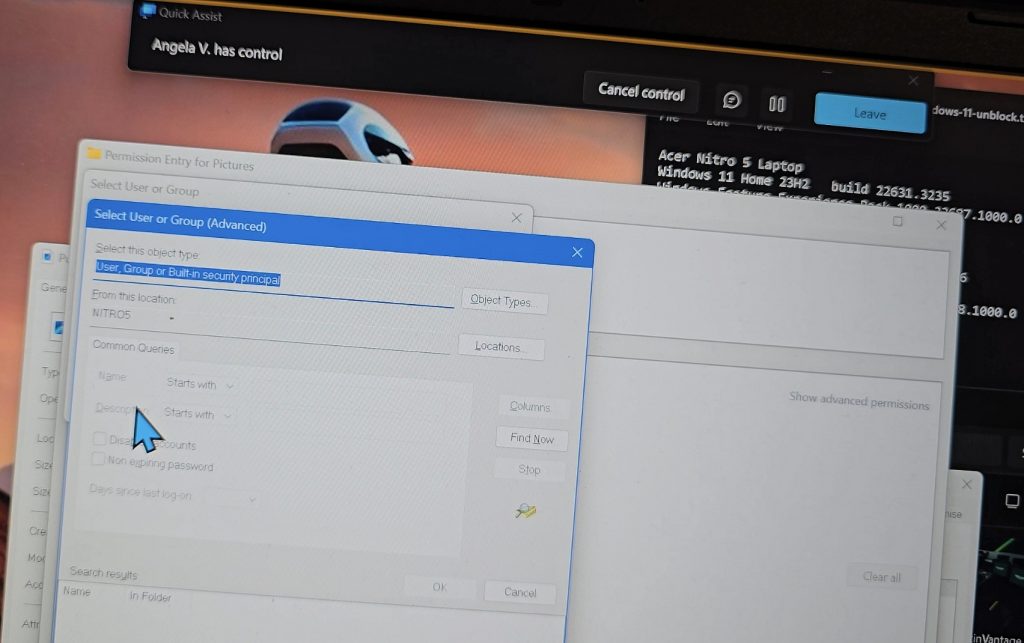
Acer Nitro 5 Laptop
Windows 11 Home 23H2 build 22631.3235
Windows Feature Experience Pack 1000.22687.1000.0
ID
Dell AIO Desktop
Windows Professional 23H2 build 22635.3286
ID
Windows Feature Experience Pack 1000.22688.1000.0
History of Security re-assessment
Since mid-2023, I have been seeking ways to enhance security following the incident involving a YouTuber known as ‘Linux’ whose team’s computer was hacked, resulting in their channel being deleted. As a result, I have reassigned roles, appointing one manager for my channels while the original owners now serve as editors. Additionally, I have implemented email management by utilising different accounts to filter and limit messages sent to my personal account. Furthermore, I have modified my Windows login to utilise a hobby account rather than my personal one. Nevertheless, I am still able to access my emails through the Outlook app.
I took interest to the possibility of moving to an Apple iOS computer or iPhone. I did get the iPhone 15 Pro Max but it is not powerful enough, now I have the Galaxy s24 Ultra.
The first troubleshooting steps.
Press [Ctrl] + [Alt] + [Del] keys on your keyboard simultaneously or right-click on the Taskbar and select Task Manager.
In the File Menu, click “Run a new task”.
Type “powershell”, check the box for “Create this task with administrative privileges”, and click OK.
In the PowerShell window, type “sfc /scannow” and press [Return].
After this completes, type (or copy and paste) “DISM /Online /Cleanup-Image /RestoreHealth” into the PowerShell window and press [Return].
The DISM (Deployment Image Servicing and Management) tool is a powerful utility in Windows that allows administrators to prepare, modify, and repair system images. Specifically, it can be used to fix issues related to system files and components. Let’s break down the purpose of the command you mentioned:
DISM /Online /Cleanup-Image /CheckHealth:
This command checks the integrity of the local image of Windows 10 (or Windows 11).
It identifies any corruptions or issues within the system image.
However, it does not perform any repairs; it only reports on the health status.
DISM /Online /Cleanup-Image /ScanHealth:
The ScanHealth option performs a more advanced scan than the previous command.
It thoroughly examines the system image to find out whether there are any problems.
Like the previous command, it does not repair anything; it only provides information about the image’s health.
DISM /Online /Cleanup-Image /RestoreHealth:
The RestoreHealth option is where the real repair action happens.
It scans the locally available image and replaces missing or corrupted files.
You can use different source files for restoration, including the local recovery image or an alternative source file.
If the System File Checker (SFC) command fails due to damaged system files, you can use this option to repair the image without reinstalling the operating system.


You must be logged in to post a comment.